Did you know that Microsoft offers a free Power Apps Developer Plan, enabling you to create up to three developer environments and unlimited Power Apps? This plan is perfect for developing, exploring, and learning the Microsoft Power Platform at your own pace. There’s just one catch: you need a work or school email address backed by Microsoft Entra ID (which gives you an onmicrosoft.com address).
I don’t recommend using your existing work or school email, as your developer environment would then be tied to your organization’s tenant. This means you’d have limited control—system administrators could remove your environment, and configuring access (like Entra ID groups) can be much trickier.
The solution? Create your own Azure tenant. This gives you your own onmicrosoft.com address, full administrative control, and the freedom to manage your Power Platform environments as you wish.
In this article, I’ll walk you through creating your own Azure tenant (using the Pay-As-You-Go option), setting up a Power Apps Developer Plan, and—optionally—linking your own domain name. Creating an Azure tenant is free (you’ll need a debit or credit card for verification, but it won’t be charged), takes about 30 minutes, and gives you complete control over your development environment. Let’s get into it.
Pre-requisites
- Microsoft Account – If you don’t have one, you’ll have the option to create one
- Debit or credit card for Azure Verification (You will not be charged)
- Custom domain name to link to your Azure Tenant and create accounts with (Optional)
- 30-45minuites of setup time.
Creating an Azure Tenant
- First of all, we’ll be creating an Azure Tenant. To do this you’ll need to head over to https://azure.microsoft.com/en-us/pricing/purchase-options/azure-account/ and click on Sign Up under ‘Pay only for what you use’
- If you have a Microsoft account, you can login with that, alternative you will need to create a new Microsoft account, perhaps with your own domain name. Once you login to your Microsoft account or create a new one, you’ll be presented with a screen to sign up for Azure, you’ll need to fill in the fields accordingly. Note: If you have difficulties creating a Microsoft account, try Incognito Mode and turn off any VPN you may have enabled.
The next screen will be a payment screen where you will need to provide a debit/credit card. After that the final screen is ‘Add Technical Support’, Unless you require it, select ‘No technical support, or I am already covered through Microsoft Premier Support’ then click Sign Up. Note: Selecting any other technical support option will incur a cost which is displayed on screen.
Congratulations, you now have your own Azure Tenant!
- IMPORTANT: The first thing you will want to do if you haven’t already is to secure your account by setting a password and setting 2FA. You can do this by going to your Microsoft Account settings.
Bonus Tip: When securing your account, make sure to use 2 Factor Authentication wherever possible and ensure any accounts created have least-privileged access for ongoing use.
Linking your domain your Azure Tenant (Optional)
If you have your own domain, you can link it to Azure so that you can create Entra ID accounts using your domain name rather than the .Onmicrosoft.com address given to you. These steps are optional.
- Within Azure, open Microsoft Entra, then on the left side menu, click the drop down for Manage. You’ll then need to click on Custom Domain Names. Click Add custom domain and on the panel on the right side, enter your domain name then Add Domain
- You will be taken to a configuration screen where you will need to verify that you own the domain by adding a TXT or MX record on your domains DNS. Follow the instructions on screen.
- Once your domain is verified, click on it and click on Make Primary. You will then be prompted to verify you want to make this your primary domain by selecting Yes
You have now added and verified your custom domain and made it the primary domain!
Creating a new User account within Azure
In-order to create a Power Apps Developer Plan, you need to have a ‘work’ account, the current account you are logged in with is tied to your Microsoft Account which unfortunately not work.
- Within Entra ID you will need to create a new user. For more information on how to do that, visit this Microsoft link. Click on Users, New User, Create New User. Fill in the fields on screen. If you added a custom domain, here is where you cancreate a user account and associate it with that domain. Once done, click on Review + Create then on the next screen Create.
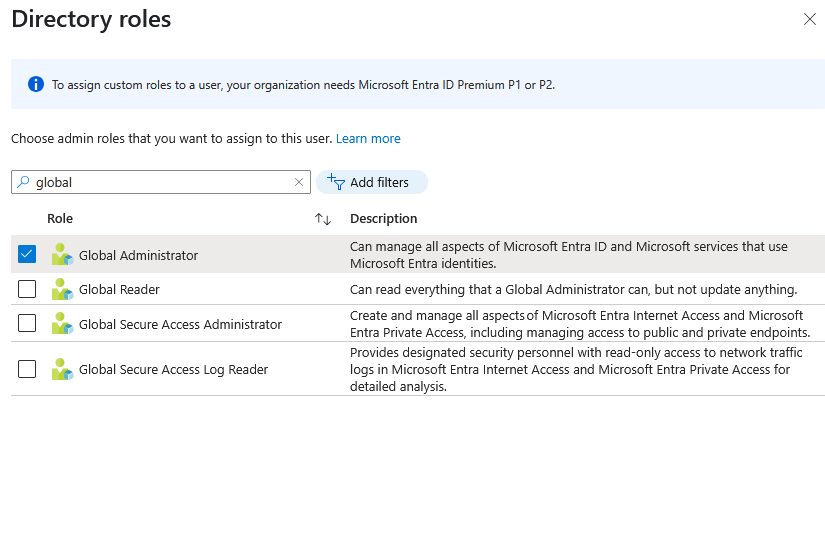
- With the new account created, it is important that you grant this account Global Administrator. To do this, open the account created, Assigned roles, Add assignments then search and select Global Administrator then click Add.
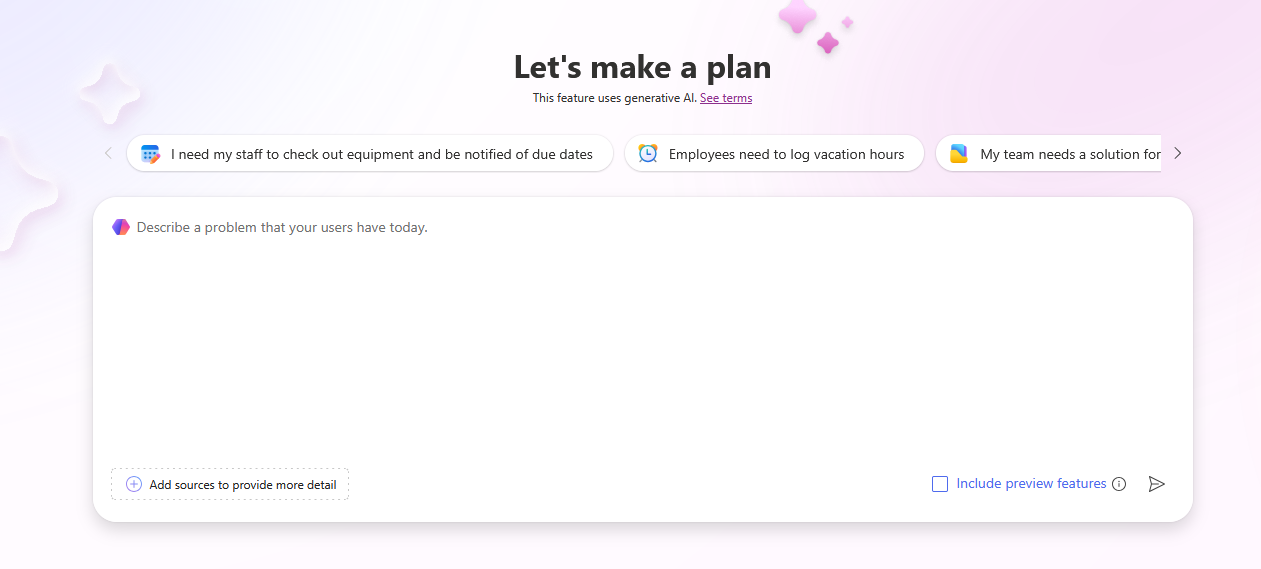
Creating a FREE Power Apps Developer Plan
Now we have our Azure Tenant setup and our custom domain setup with our new account created we can move onto what we’ve been waiting for – Creating a Power Apps Developer Plan!
- Head over to https://www.microsoft.com/en/power-platform/products/power-apps/free and click on Start Free. On the popup, enter the email address for the new Global Administrator account we just created. You need to click the Terms & condition box then select Start Free.
- You will then be prompted to login (You may also be asked to change your password, do so if prompted).
- If all is successful, your new Power Apps Developer Plan will be created! In may take a few moments to do so however.
And there you have it! In just 11 steps, we’ve created our own Azure Tenant, added our custom domain (optional), created a new Global Administrator account and then created our own Power Apps Developer Environment, all for free!
Stay tuned for more articles on getting the most of your Power Platform. Now lets get out there, start learning and start creating some amazing Power Platform Solutions!

Lovely post . This is really informative . Do you at any point in time get charged for any usage within the Azure tenant. Is the Entra ID service completely free ? And can you create multiple users
Hey!
You only get charged for what you use – however as we would only be using Azure for Entra ID for basic user administration and to get a PowerApps Development Tenant, there is no charges. You can read more here: https://azure.microsoft.com/en-us/pricing/#Pricing-by-product and here’s the ‘Always Free’ services offered https://azure.microsoft.com/en-us/pricing/free-services/#tabs-oca48b_tab0